Understanding the Basics of Chef Base Refrigerators
A chef base repair is crucial for the performance of any commercial kitchen. Chef base refrigerators are versatile appliances that provide not only cold storage but also a prepared workspace for chefs and kitchen staff. Understanding these units is the first step toward effective maintenance and repair.
What is a Chef Base?
A chef base is a specialized refrigerator designed to combine storage and preparation areas in one unit. These units typically feature a prep countertop atop refrigerated drawers. The design allows chefs to maximize workflow efficiency in compact kitchen environments. The top surface serves as a workspace for assembling dishes or prepping ingredients, while the refrigerated drawers store perishable goods within easy reach.
Common Uses and Benefits
Chef bases are widely utilized in restaurants, catering businesses, and food service establishments. The primary benefits of these appliances include:
- Space-saving design: Ideal for smaller kitchens that lack the room for traditional refrigerators.
- Enhanced efficiency: Allows chefs to work closely with their ingredients, minimizing the need to walk back to the refrigerator.
- Versatility: Chef bases can accommodate various types of cuisine, making them suitable for different culinary applications.
- Temperature control: These units can maintain precise temperatures that are crucial for food safety.
Components of a Chef Base Refrigerator
Understanding the key components of a chef base refrigerator can help in troubleshooting and repairs:
- Compressor: The heart of the refrigeration system that circulates refrigerant.
- Evaporator coils: These cool the air inside the unit and are crucial for maintaining temperature.
- Thermostat: Monitors and regulates the temperature within the storage area.
- Door seals: Ensure that cold air does not escape, thereby enhancing efficiency.
- Control panel: Allows for adjustments to the temperature settings and may display error codes.
Identifying Common Issues in Chef Base Repair
Frequent Problems and Symptoms
Chef bases can encounter several common problems that can affect their performance. Being aware of these issues is essential for timely repair:
- Inconsistent temperatures: If the unit cannot maintain consistent cooling, it could be due to a faulty thermostat or compressor issues.
- Noise: Unusual sounds can signal that the compressor is overworking or that there are loose parts within the interior.
- Frost buildup: Excess frost can indicate that the door seals are damaged or that there is a problem with the defrost cycle.
- Failure to start: If the unit won’t power on, it could be due to electrical issues or a malfunctioning control panel.
Understanding Error Codes
Many modern chef bases have digital control panels that may display error codes. Understanding these codes can significantly expedite troubleshooting:
- E1: Indicates a temperature sensor error.
- E2: Suggests issues with the compressor.
- E3: Related to the door being left open for an extended period.
Consult the user manual for your specific model to decipher what each error code means and the recommended corrective actions.
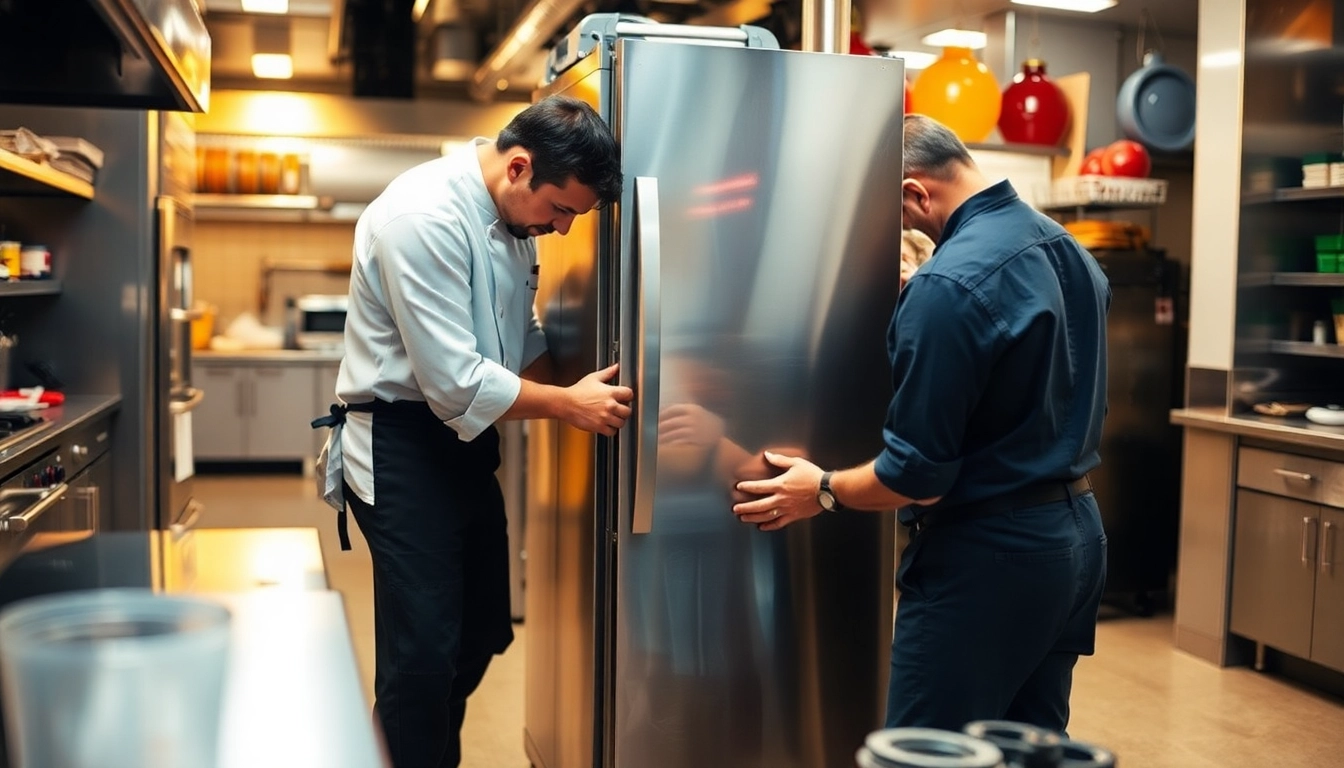
When to Seek Professional Help
While some repairs can be handled by knowledgeable staff, certain situations necessitate professional intervention. Consider calling a technician when:
- The problem is complex and requires specialized tools or skills.
- Repairing the unit may void any existing warranties.
- Safety concerns arise, such as potential electrical issues.
- If there are recurrent problems despite DIY repairs.
Step-by-Step Guide to Chef Base Repair
Essential Tools for Effective Repair
Before embarking on repairs, ensure you have the right tools for the job:
- Screwdrivers: Both Phillips and flathead for various screws.
- Multimeter: To test electrical components and circuits.
- Wrench set: Required for tightening or loosening bolts.
- Replacement parts: Having spare parts like seals, fans, or compressors can expedite repairs.
- Cleaning supplies: Including brushes and cleaning agents to keep the unit in optimal condition.
DIY Troubleshooting Techniques
When troubleshooting a chef base, start with the basics:
- Check power supply: Ensure that the unit is plugged in and that the outlet is functional.
- Inspect door seals: Look for cracks or gaps that could cause temperature inconsistencies.
- Test the thermostat: Use a multimeter to check if the thermostat is functioning correctly.
- Examine refrigerant levels: Low refrigerant levels can indicate a leak that requires professional repair.
Replacing Parts: A DIY Approach
When it’s time to replace faulty parts, follow these steps carefully:
- Turn off the power: Always unplug the unit before beginning repairs.
- Disassemble the unit: Remove any panels to access the internal components.
- Carefully replace the faulty part: Follow manufacturer instructions to ensure correct installation.
- Reassemble and test: After replacing the part, put the unit back together and plug it in to test functionality.
Best Practices to Maintain Your Chef Base
Regular Cleaning and Maintenance Schedule
Implementing a proactive maintenance schedule is vital for prolonging the lifespan of your chef base. Recommended cleaning tasks include:
- Cleaning the interior and exterior surfaces weekly.
- Checking and replacing filters as needed.
- Wiping down door seals regularly to prevent debris buildup.
Temperature Monitoring for Optimal Performance
Maintaining the correct temperature is essential for food safety. Regularly monitor the unit’s temperature using calibrated thermometers. Set reminders to check temperatures at least weekly.
Tips for Preventive Care
Adopt preventive measures to mitigate potential issues:
- Conduct routine inspections to identify and address minor issues before they escalate.
- Schedule regular professional maintenance checks, at least biannually.
- Invest in quality parts for replacements to enhance durability.
When to Consider Upgrading Your Chef Base
Signs It’s Time for a Replacement
Eventually, every chef base will require replacement. Key signs to assess include:
- Persistent breakdowns: Frequent repairs can indicate that the unit is nearing the end of its lifespan.
- Increased energy costs: Older models might consume excess power, leading to higher utility bills.
- Incompatibility with new standards: Outdated appliances may not meet current health or safety regulations.
Modern Features to Look For
When considering an upgrade, look for features that enhance usability and efficiency:
- Smart technology: Wi-Fi-enabled units can monitor performance and send alerts for maintenance.
- Improved energy efficiency: Look for Energy Star-rated appliances to save on energy costs.
- Enhanced storage configuration: Modular shelves and adjustable drawers allow for greater flexibility.
Cost-Benefit Analysis of Upgrading
When evaluating the decision to upgrade, consider both the costs associated with purchasing a new unit and the potential savings in terms of maintenance, energy efficiency, and improved workflow. Conducting a thorough cost-benefit analysis can lead to informed decisions that align with your business’s long-term goals.